Prototyping


It is time for prototyping again! For our first PiWars we adopted iterative approach: design, mock, test, improve and repeat. That lead to lots of iterations and lots of discarded parts.PrinterParts

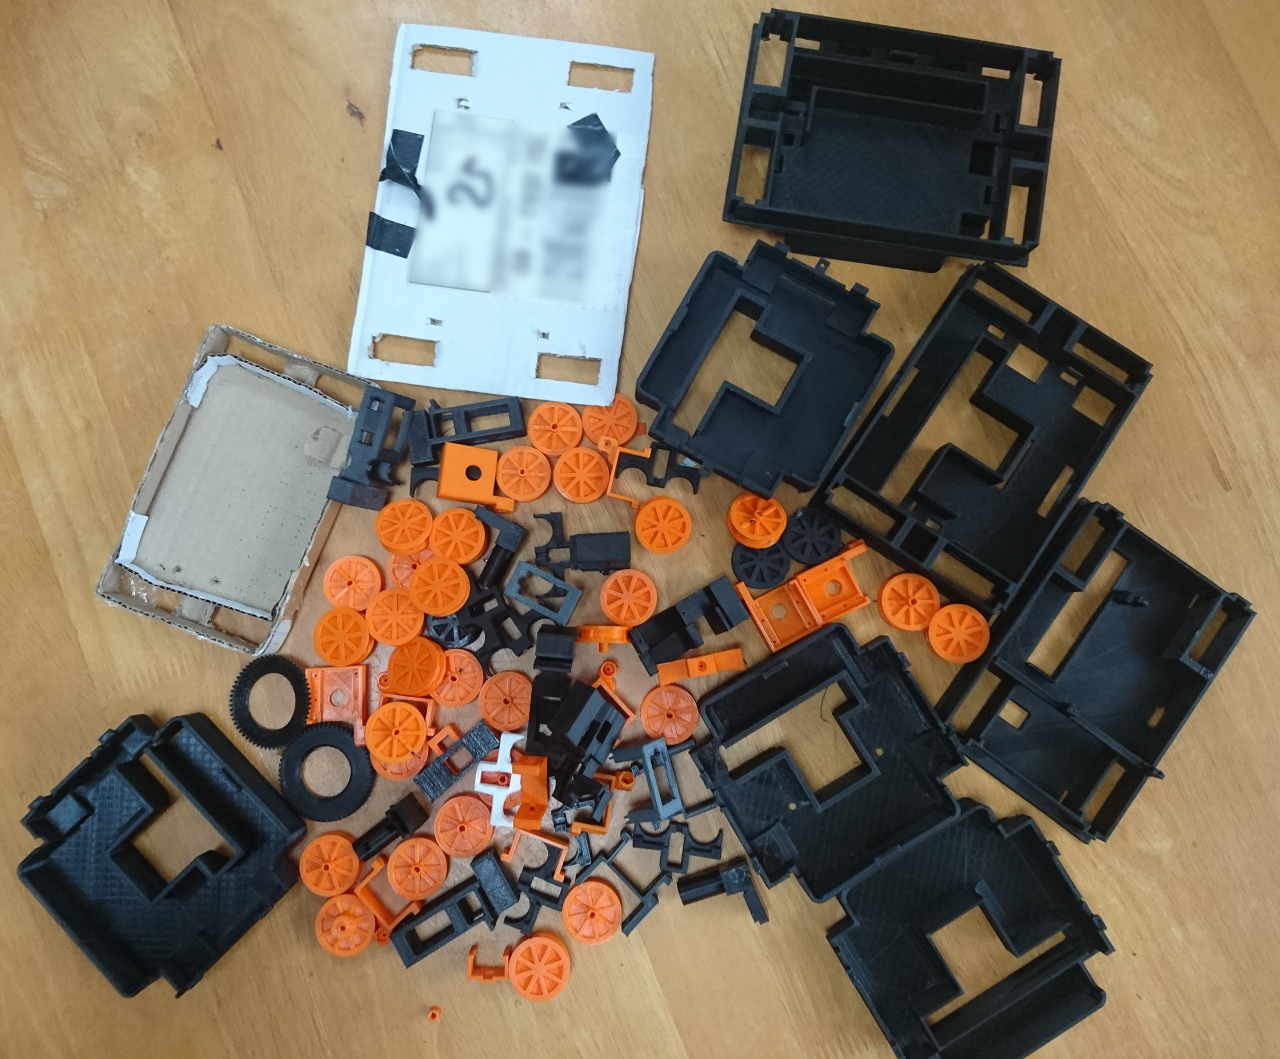
But was that necessarily a bad thing? So far it seems that at least half of the 'previous versions' have found a kind of home - for people who wanted to try putting together a rover of ours and are not worried having the latest, the most refined version of it. Also, it helped us to find out what the 'dead ends' and the 'wrong decisions' were like and we learned from them. Beside that, it made our club members not be scared of trying out stuff even if it originally seems not to be the best idea that we can come up with at that moment.PiNoonHolderWithDistanceSensor

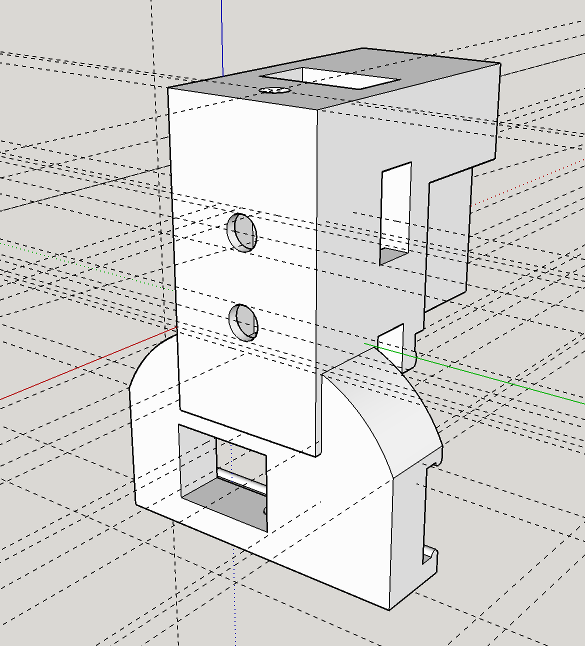
Now we are at quite a few new designs. One of the first we did was PiNoon capture nut (ahm, electric connector) and with distance sensor (VL53L0X). One of the previous blogs was about capturing stuff in 3D printer objects.

Read more…

Our Controllers (and why indentation is important)


To control our rover we have our standard controllers. Last year we used a modified ps2 controller with a PiZeroW inside. This enabled us to remotely send packets through the WiFi. This was a relatively easy way of remotely driving the rover. However, it had some flaws. Firstly, because it used the WiFi hotspot that we had to carry around, it meant that the TCP packets would have to first be sent to the hotspot over WiFi, then to the rover over WiFi, and data was sent back through the same path. With lots of other 2.4GHz traffic on the spot at times we had latency of up to second or two!

PiWarsControllerSetupOld

So, this year we are planning to cut the corner, and connect a controller directly to the rover.

PiWarsControllerSetupNew

Read more…

Rumbling About LiPo batteries


This is originally written as a 'manual' for our club members that are borrowing rovers. As our rovers operate on LiPo batteries and they need special care, here is what one should know about how to handle LiPo batteries safely. Here are batteries we use with our rovers:

rover-batteries

LiPo Batteries

Our rover uses batteries that are two cell (nominally 7.4V) Lithium Polymer batteries. They provide quite a strong current and thus they are very dangerous if shorted. A short would generate high heat and can even cause the battery to explode.

Read more…

GCC Rover Open Source


Our rover software and hardware is now properly open source.

All the design changes will be posted here: https://www.thingiverse.com/thing:2763746

All the software is continuously updated here: https://github.com/GamesCreatorsClub/GCC-Rover

Also, current Android controller app is here: https://play.google.com/store/apps/details?id=org.ah.gcc.rover

And as all posts are not really worth without pictures - here is one:

pinoonGuess what we will be doing on our next club meeting on Wednesday! :)

GCC-Rover-M16


Here are full specs of our GCC Rover M16:

Type A / Type B

Dimensions Width Base: 110mm Max (wheels protruding): 125mm
Length Base: 160mm Max (with attachments): 225mm
Height Max: 120mm Clearance at bottom with 50mm wheels: 43mm
Weight Net: 490g With battery and an attachment: 660g
Wheels Diameter Base: 30mm Tyre (min): 32mm Tyre (max): 50mm
Width Base: 8.4mm Tyre: 14mm
Steering 4 wheels independently -90º to 90º
Power Battery 2 cell 7.4V Li-Po battery Charged 8.4V Capacity 2100-2200mAh
Motors DC mini metal geared motor 150/300 RPM at 6V
Speed Max (150RPM/50mm tyre) ~ 0.5 m/s
Max (300RPM/50mm tyre) ~ 1 m/s
Sensors Distance Rover type A: HC SR04 ultra sonic sensor Rover type B: VL53L0X IR laser distance sensor
9dof Sensor Rover type A: GY801 (gyro l3g4200d, accelerometer adxl345) Rover type B: MPU9250
Camera Pi Camera Module v2 (8 mega pixel
Controller Main Raspberry Pi 3

In The Meantime


Before we go elbow deep in mechanical design, electronics and programming - our existing rovers needed some sprucing up. All needed to be brought to the same specs and some previous design decision revisited.

servo-arm0
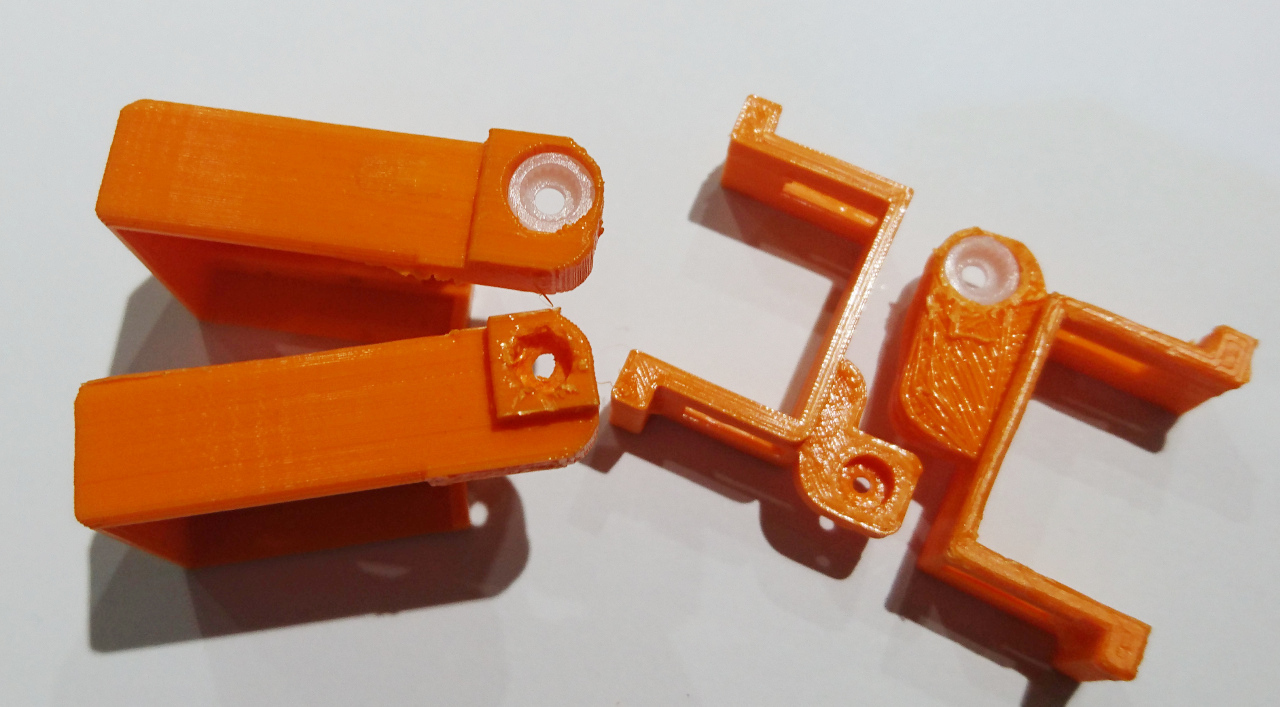
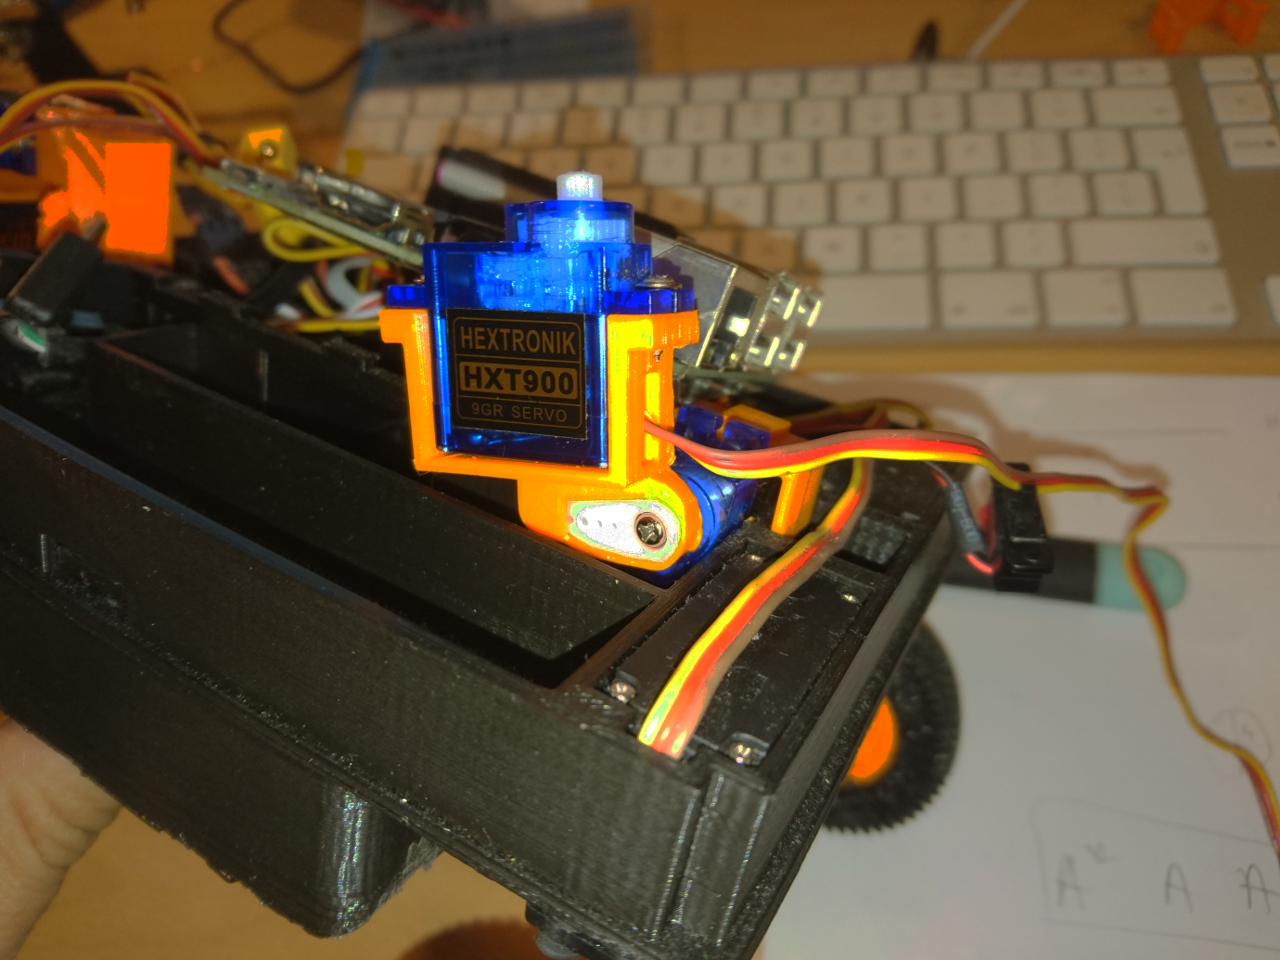
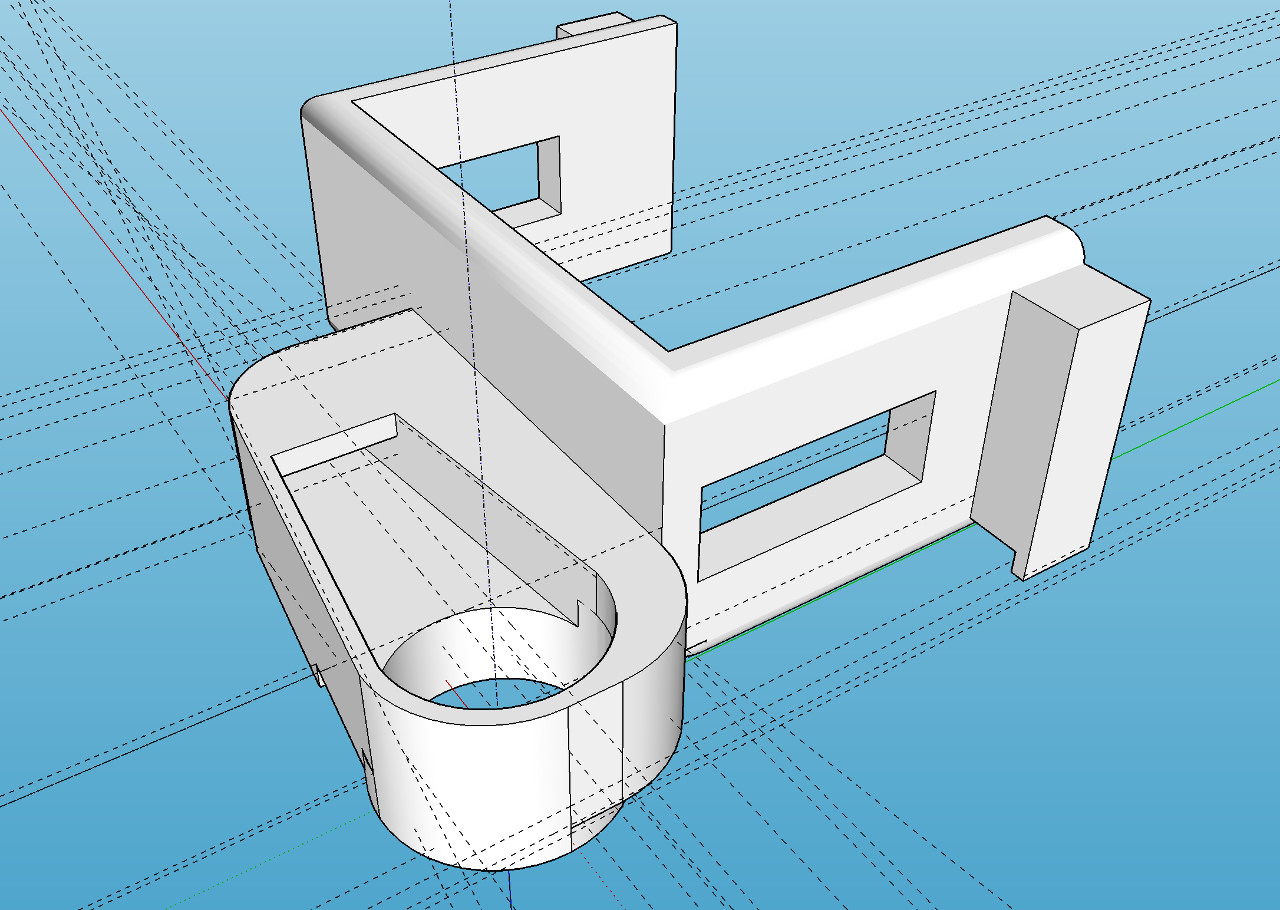
One of such a design decision was the way camera arm is attached to the servos. Idea was that if appropriate retched hole is made, servo shaft would fit and hold. It did to the extend but whole connection was a bit flimsy and would easily slip. Calibrating camera servos and then having the arm slip on the servo shaft would cause even more damage (or add to slipping, rounding the hole even more). The solution for this is to incorporate the original servo arms to the 3D printer parts. The result is here:

servo-arms-1.1   servo-arms-1

servo-arms-2

Read more…

2018 Inaugural meeting


This time we are starting very late due to many independent factors, but our resolve never faltered. Fortunately we finished quite strong last year - with two fully working rovers. However one lagged because it was built first and not upgraded completely. We only had very little damage, mainly on some attachments (broken servos mostly) and some of these we aren't going to need this year.

The only area, though, was that we didn't do as much as possible with software! Who would tell - given we're really a software club. Eh.

Read more…

Second Place!


YAY!!! We came second! Saturday was great. We need to thank everyone who supported us and helped us to design and build rovers and special thanks to Mike and Tim and all the judges for organising such a fun event and great competition.

back-in-hq 
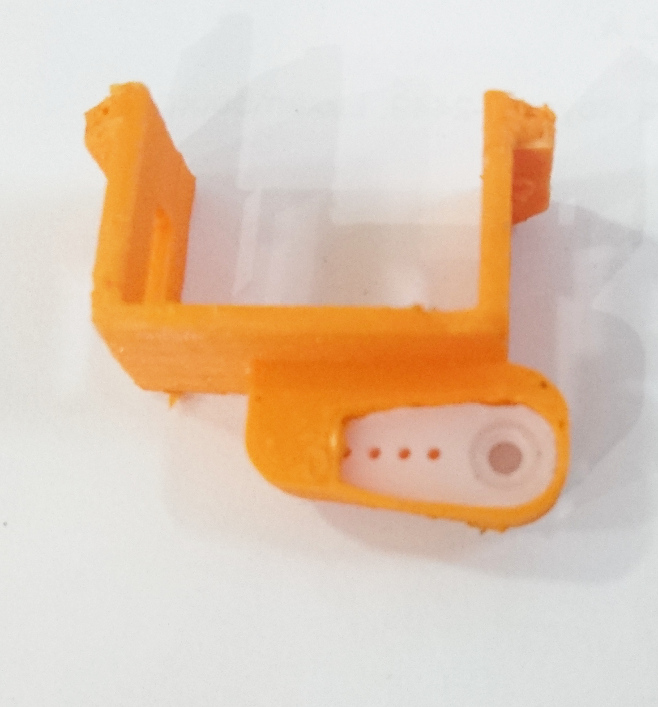
Getting ready for the challenges

Read more…