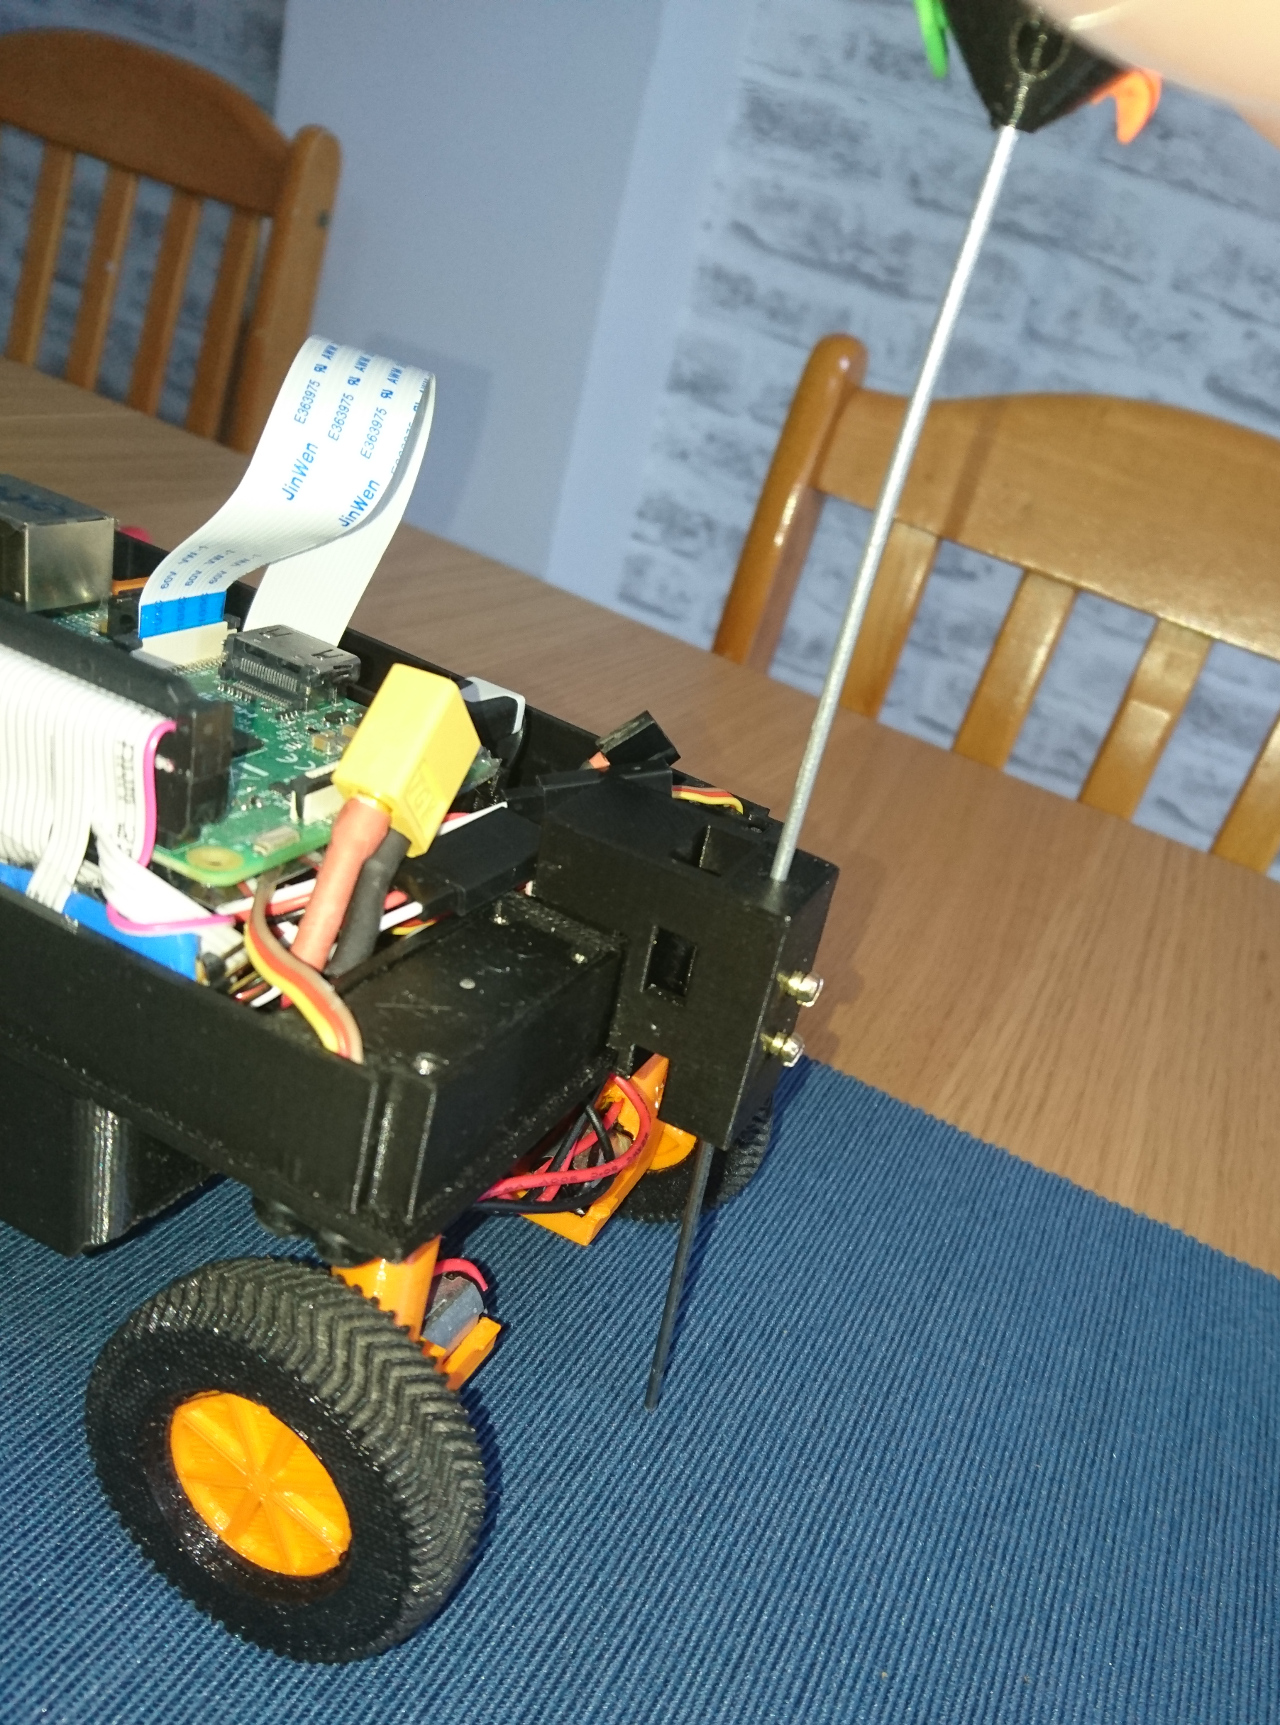
YVirtual PiNoon?
With one challenge sorted, and a few more on the way, we have decided to take a little moment, and make a game - we aren't called the Games Creators Club (GCC) for nothing! With only weeks left, we should have been focusing on the other autonomous challenges, and other challenges that we are far from completing, but instead, we made this:
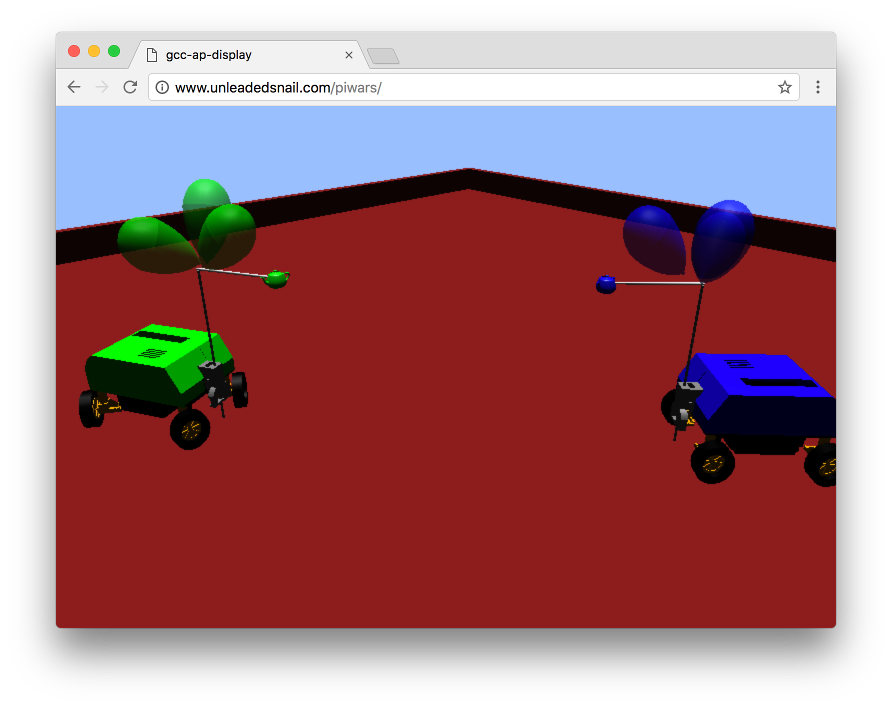 Click on above image to try out virtual PiNoon with our rovers!! Keys are:
- 'ASDW' for movement and 'Q' and 'E' for rotation of the green rover
- 'JKLI' for movement and 'U' and 'O' for rotation of the blue rover
- Space is to start
Technology
Since all rover parts are 3D printed we could just use the 3d model files that we used, and directly add them to the game. With a bit of scaling, and positioning, we could easily implement the whole rover!The GCC Virtual Rover is made using Java and the LibGDX framework giving us immediate access to many different platforms including desktop (Windows, Linux and OSX applications), Android (soon to come to the Play store near you), iOS and HTML5 (as seen above). Also, due to circumstances, we are involved in the Raspberry Pi 'fork' of LibGDX as well - so expect the above game to work on RPi at full speed as well, even on a PiZero!)
The HTML5 is delivered (by LibGDX) using GWT - which is Java compiled to JavaScript. The game itself (through LibGDX) is made in Open GLES which, in a sense, is compatible with WebGL. We have tried game on Firefox and Chrome on Mac, and Chrome and Edge (shudder) on Windows, but it should really work on all modern browsers.
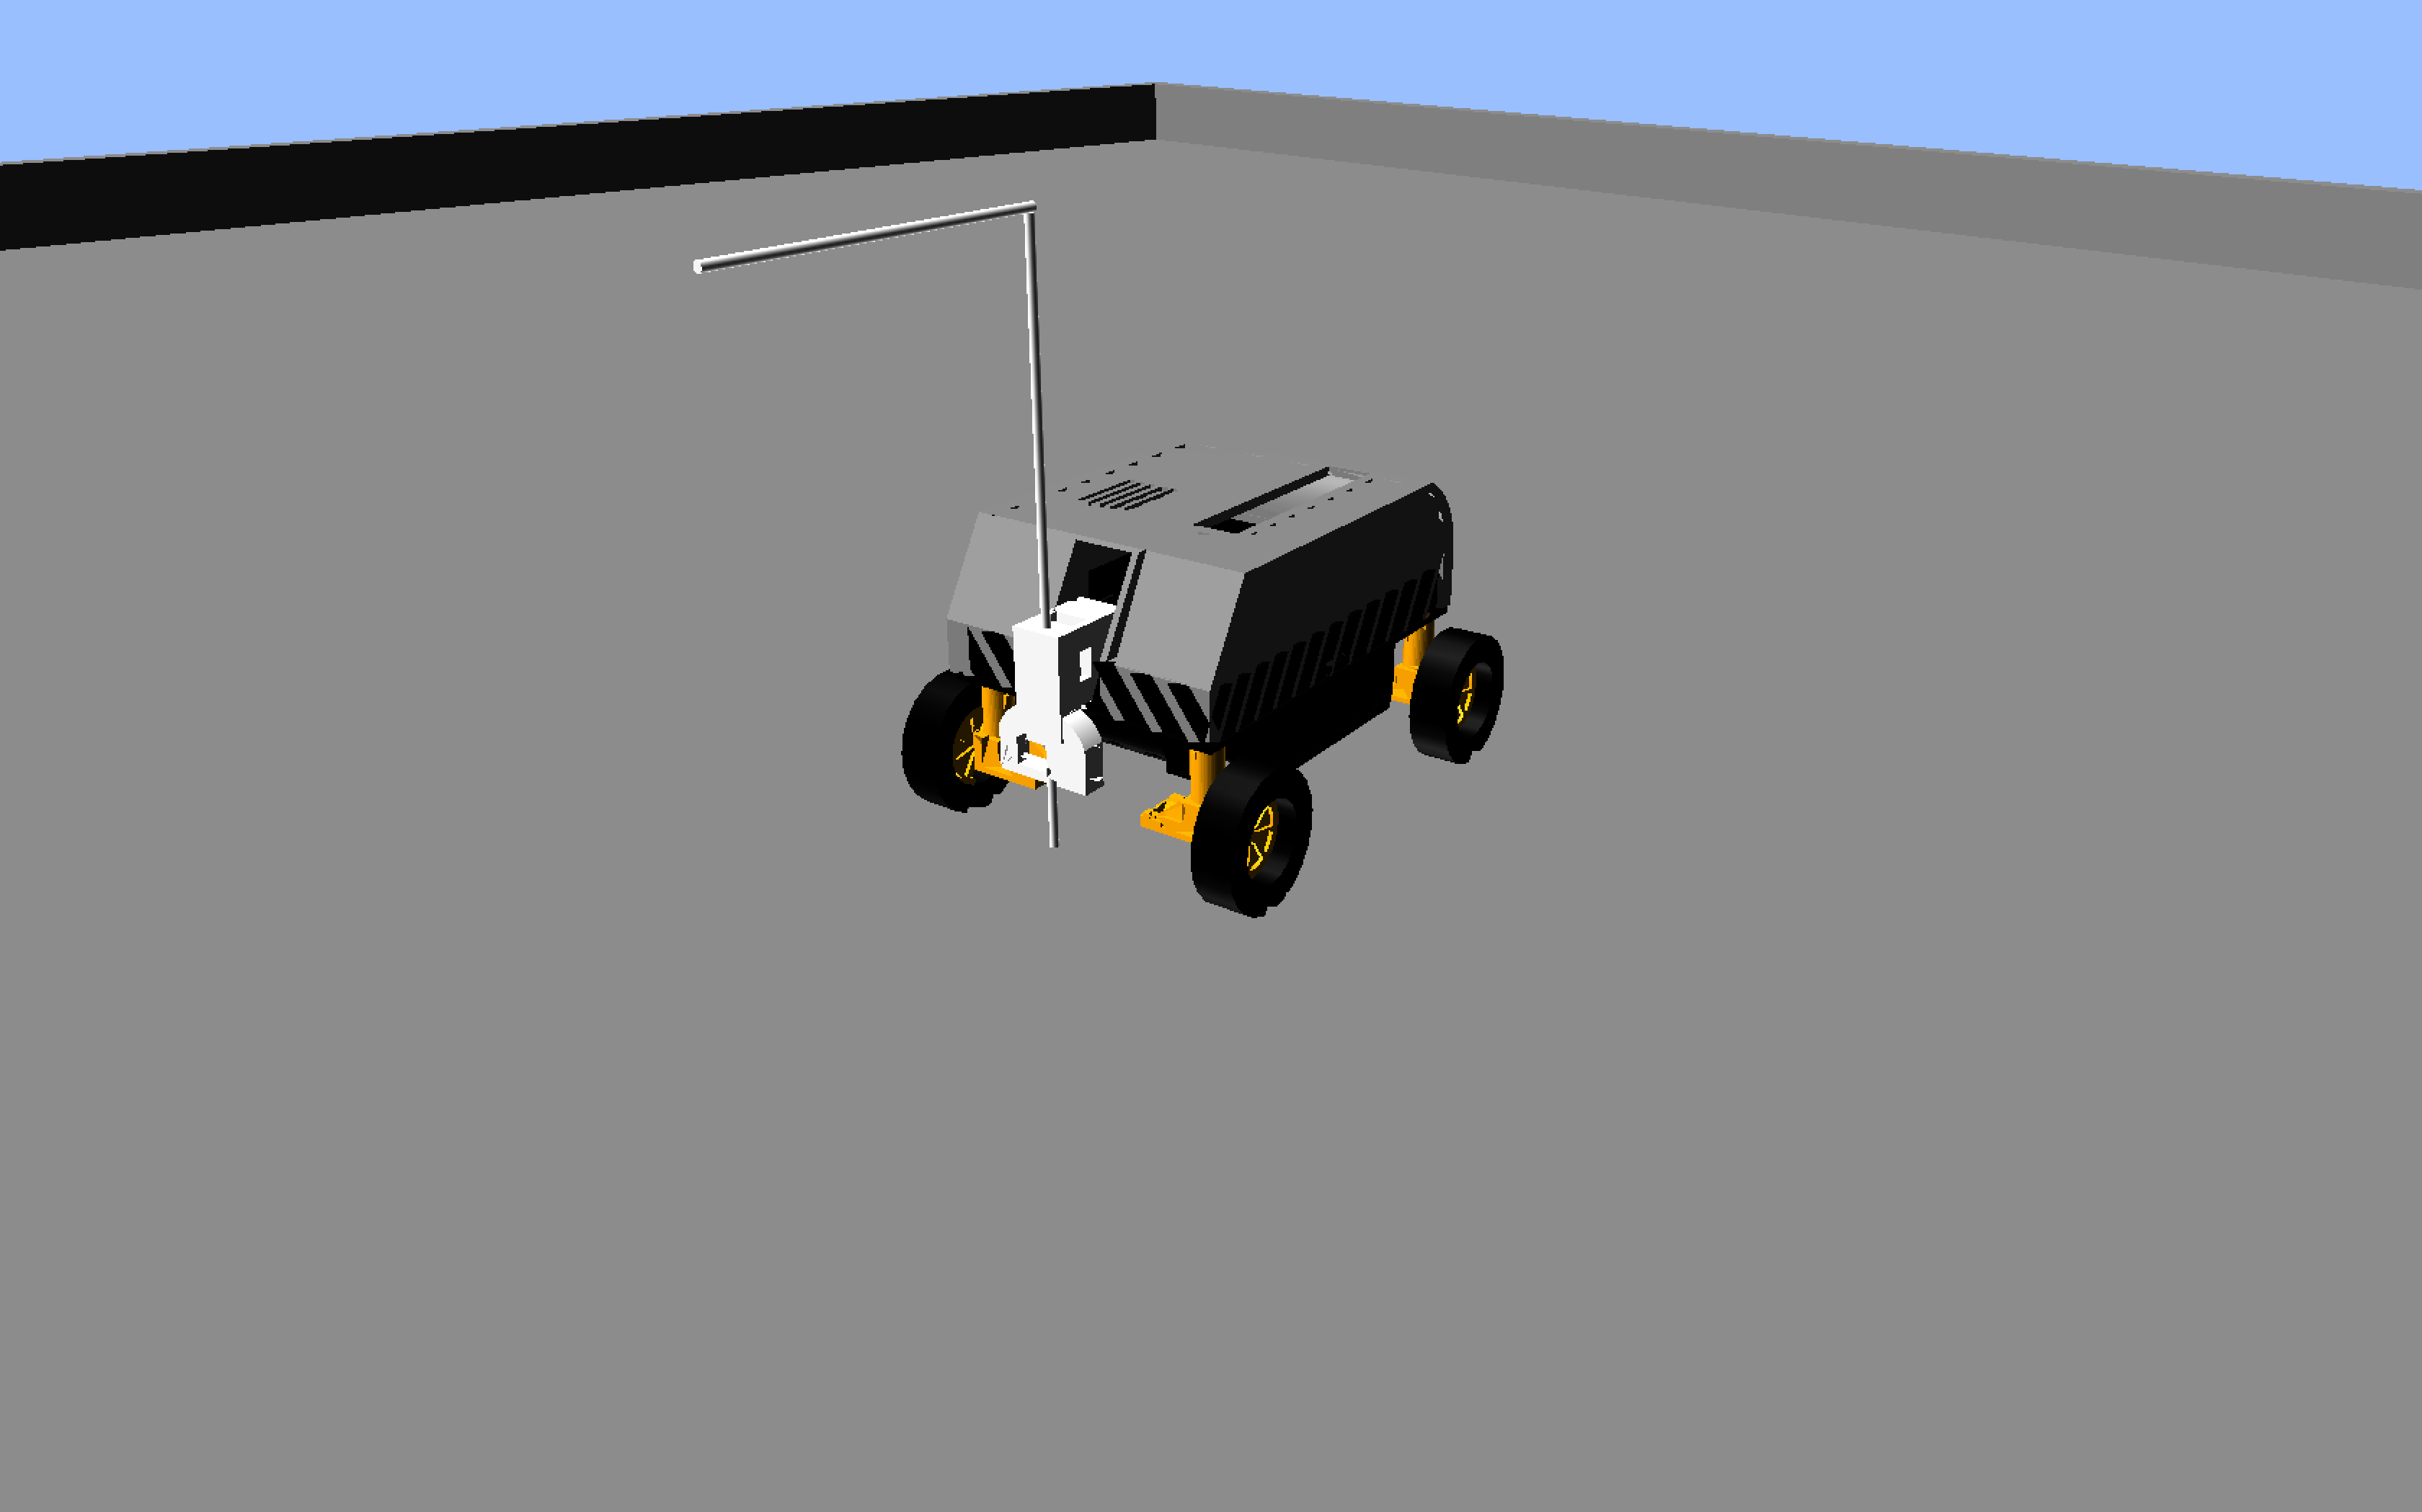 An earlier version of the game, still with graphical glitches!
The game's source is in the github, but, please, be gentle as game is made in virtually no time and quality of code wasn't the primary concern. Many shortcuts were made, and it hasn't been optimised fully.
If you would like to see your robot in the game - get in contact and get a 3d obj file of it ready. Separate wheel/track objects are preferable so it can be animated.
Daydreaming
So far game is just simple and full of short-cuts, but idea is that in some parallel universe where we have enough time for all the hobbies and interesting stuff we add Python interpreter(*) and deploy Pyros to virtual rover. For it we'll just need to implement virtual hardware sensors and up the game with real physics simulation...Idea is that using mentioned Python interpreter we'll be able to execute all Pyros code and stub out all libraries Pyros needs for PiWar in the similar way as they are stubbed out for PyGame (look below). Next step would be to create whole 'world' (probably a world per challenge) and implement physics for it (gravity, momentums of objects, traction/resistance of different surfaces, collisions and such). Beside that we would need to implement virtual sensors (i2c gyro/accel/compass and VL53l0X distance sensors, ultrasonic distance sensor, etc) with all their imperfections. Actually we would need to simulate the world and feed back that simulation through virtual sensors. And last but still important stub and 'bridge' MQTT from that virtual environment to the real MQTT so all our command and client programs can still work with virtual rover.
Given that LibGDX can be deployed anywhere including web browser that could become quite a powerful platform for 'research' and for places like our Club.
Work In Progress
Disclaimer: this is work in progress. Do come back - it will get better. Unfortunately most of the free time we envisage we'll be able to put in the game will come somewhere in week after 22nd April. Wonder why then...(*) Python interpreter is simple implementation of a Python interpreter we made for our club so we can deliver PyGame games written on the club on the web. Have a look here:
[gallery ids="1267,1266,1265" type="square"]
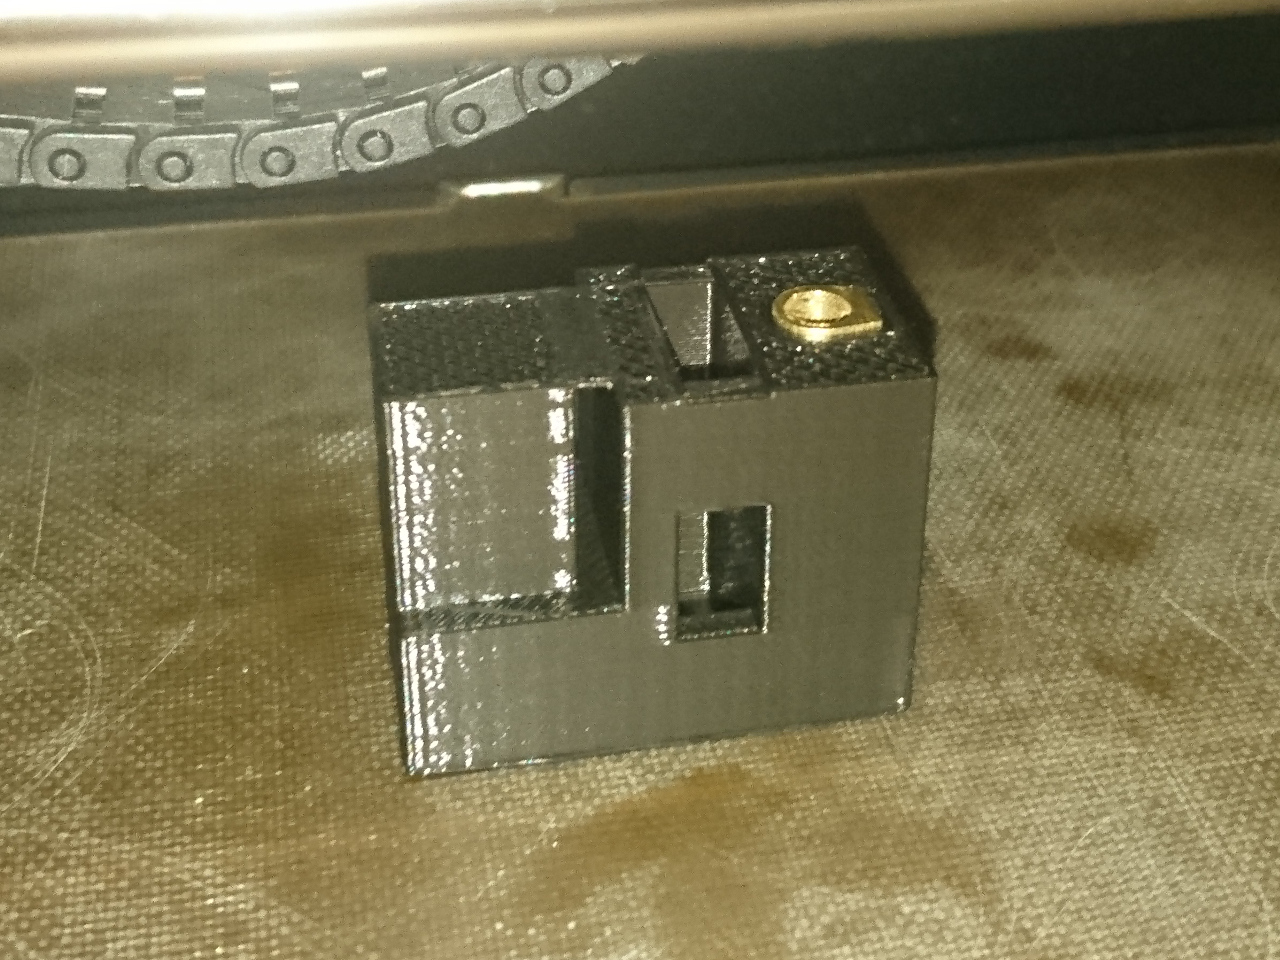
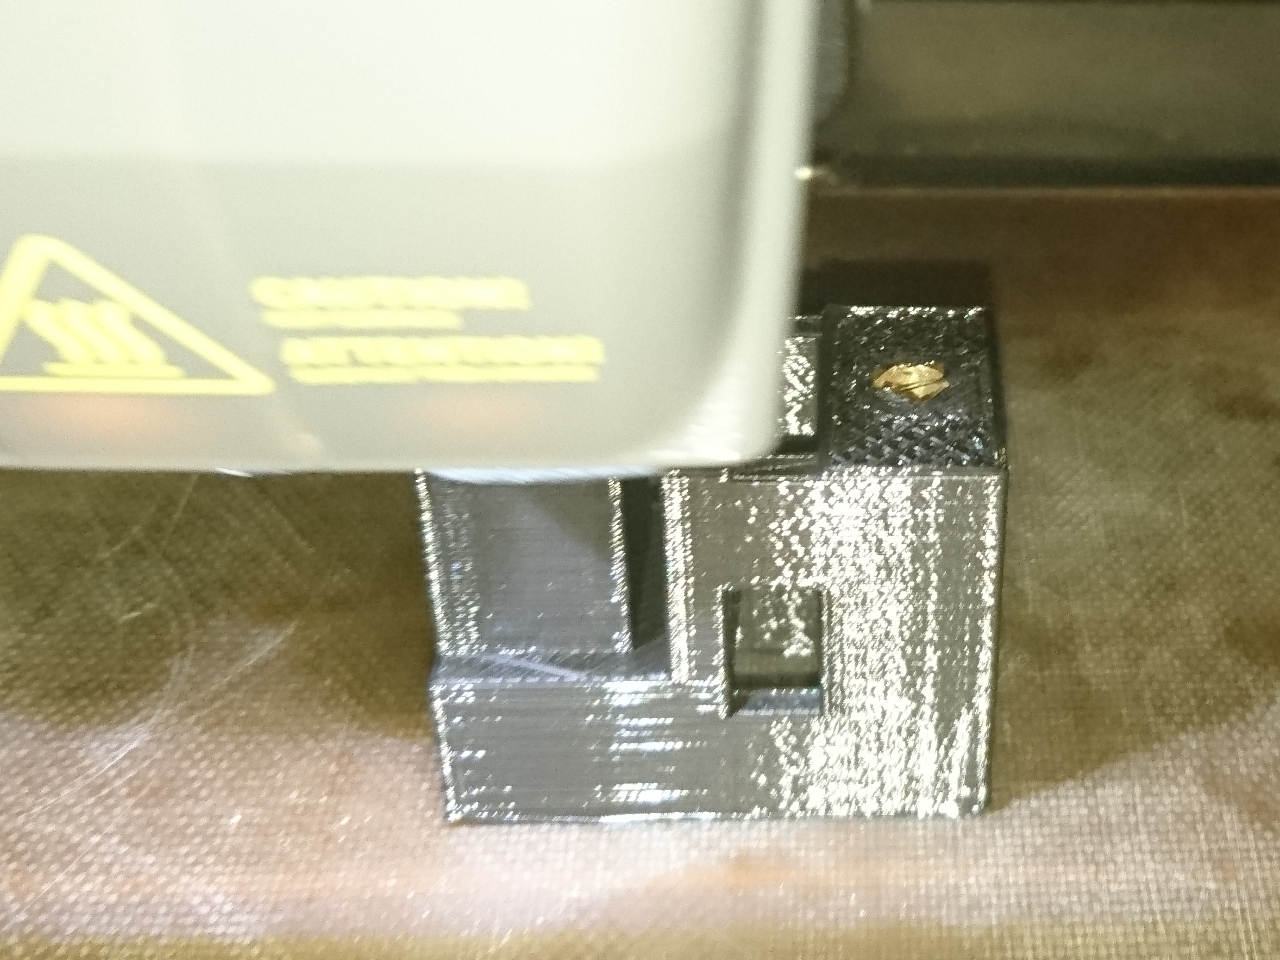
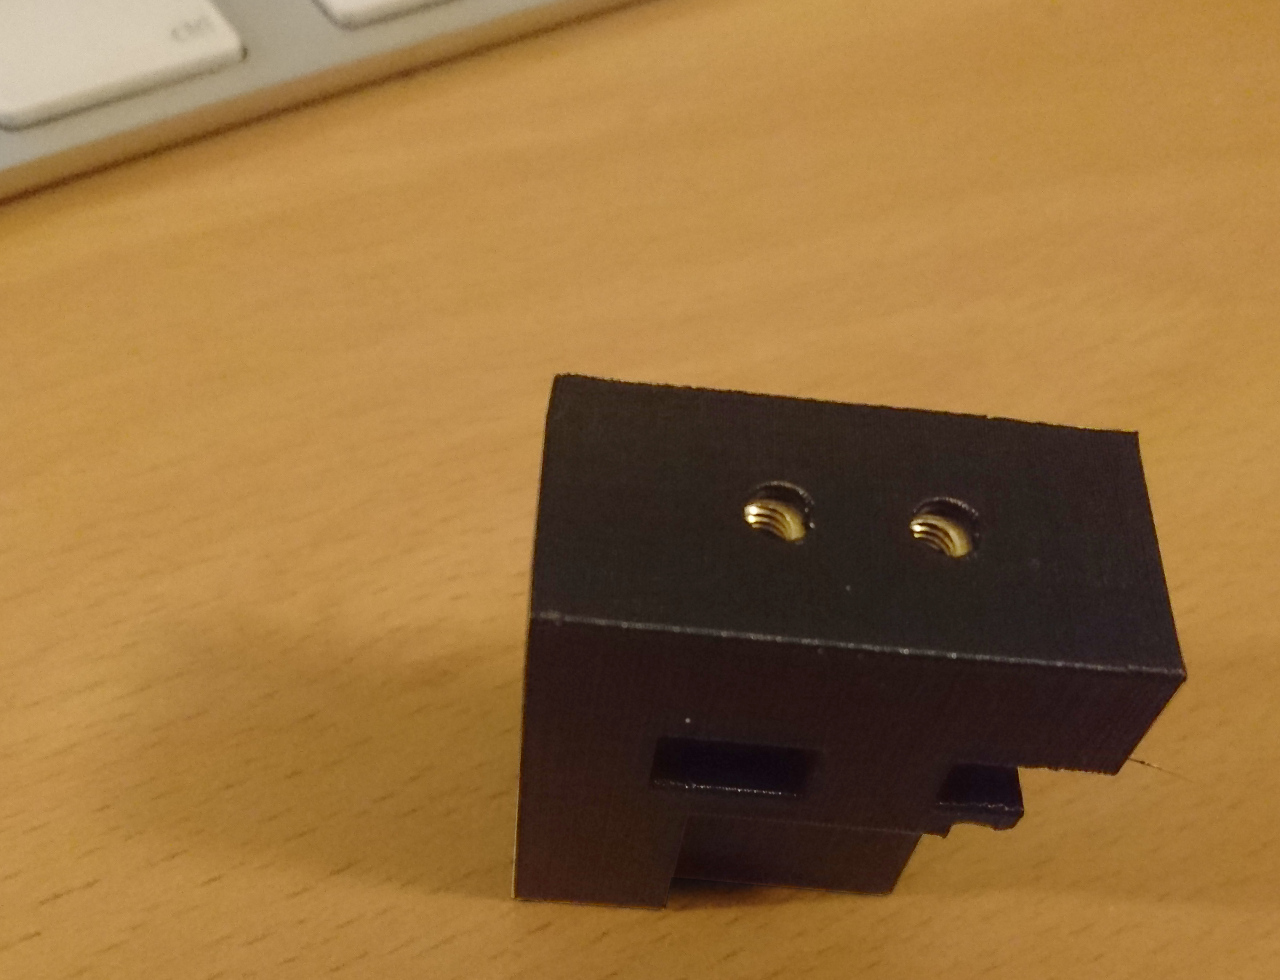
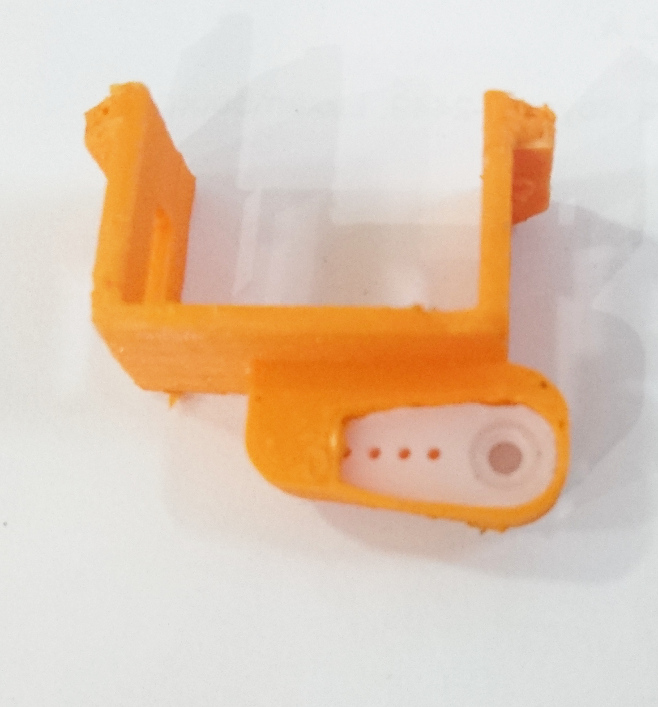
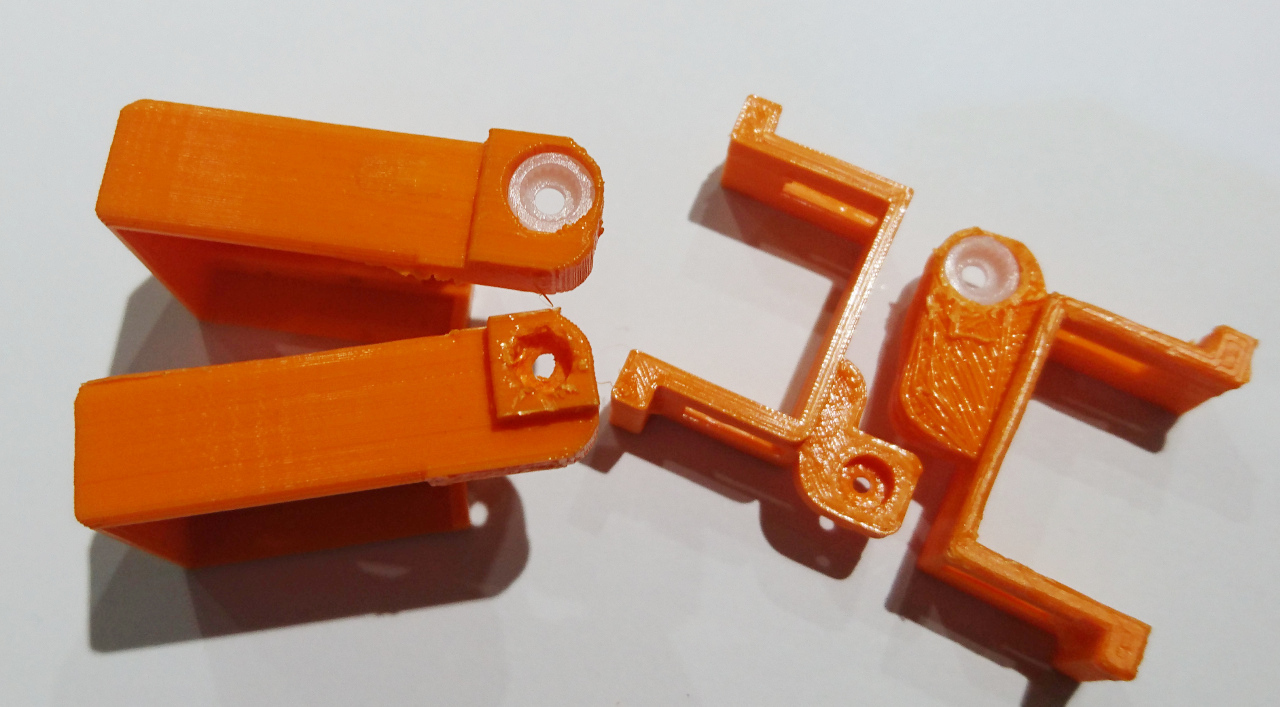
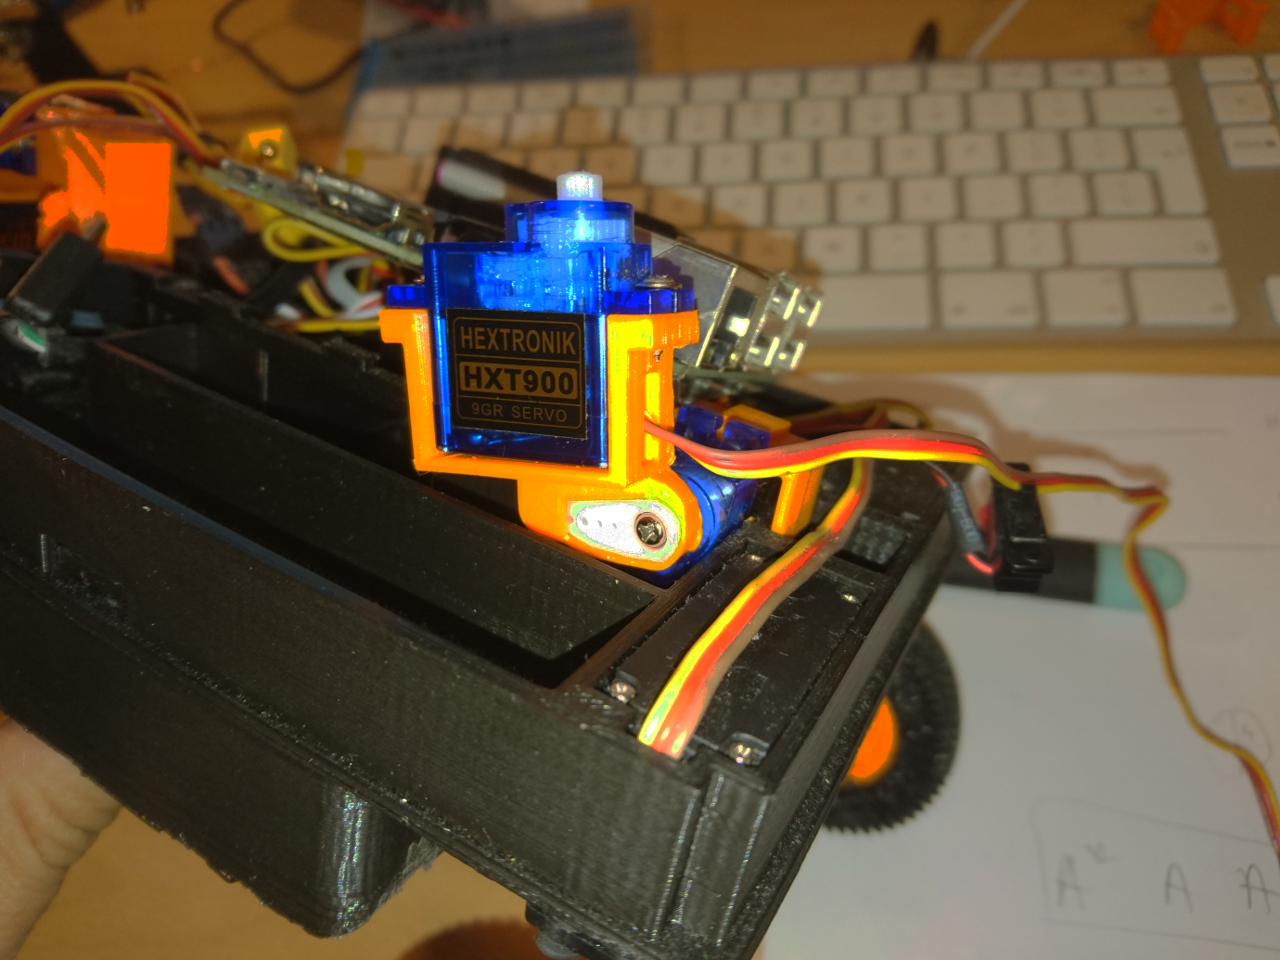
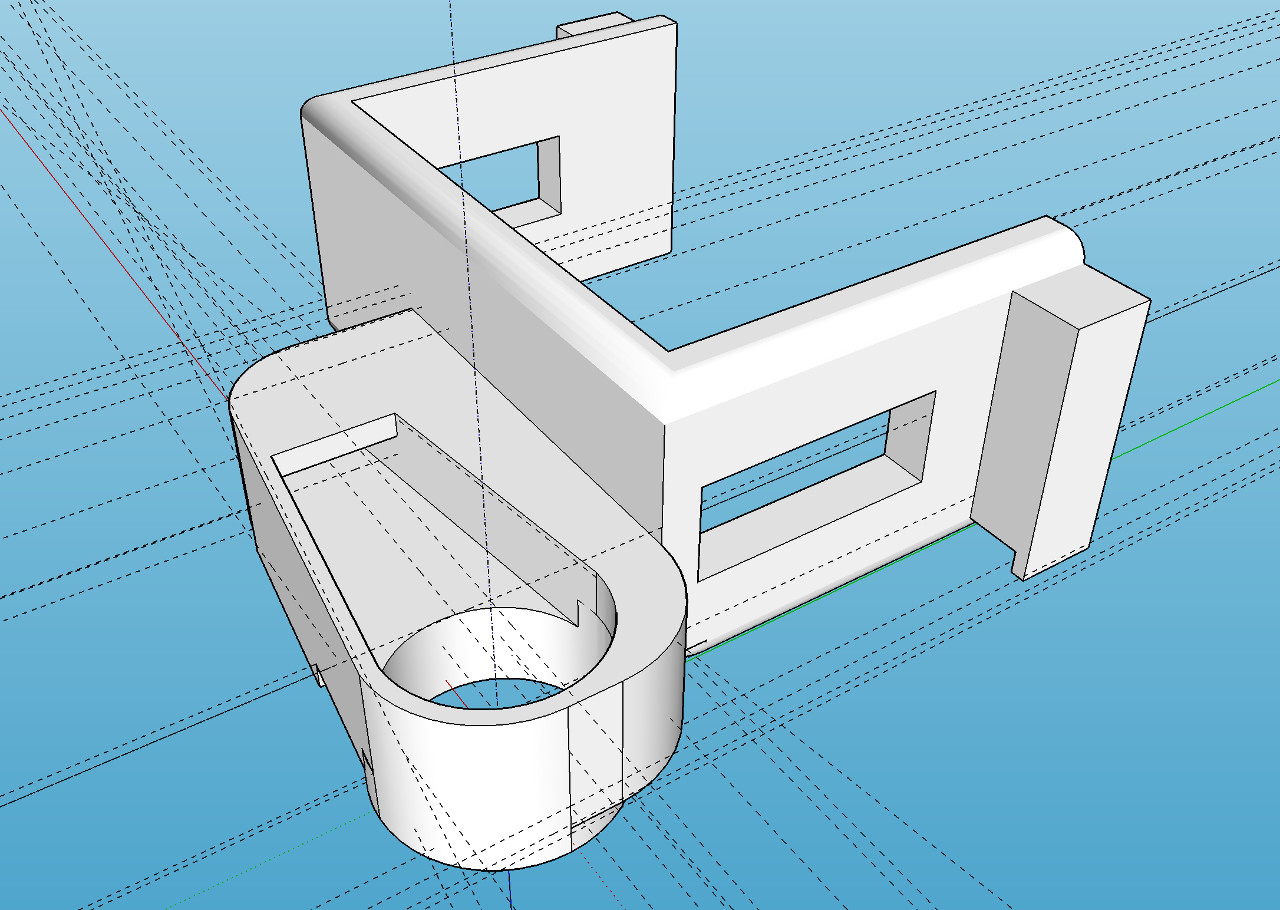 One of such a design decision was the way camera arm is attached to the servos. Idea was that if appropriate retched hole is made, servo shaft would fit and hold. It did to the extend but whole connection was a bit flimsy and would easily slip. Calibrating camera servos and then having the arm slip on the servo shaft would cause even more damage (or add to slipping, rounding the hole even more). The solution for this is to incorporate the original servo arms to the 3D printer parts. The result is here:
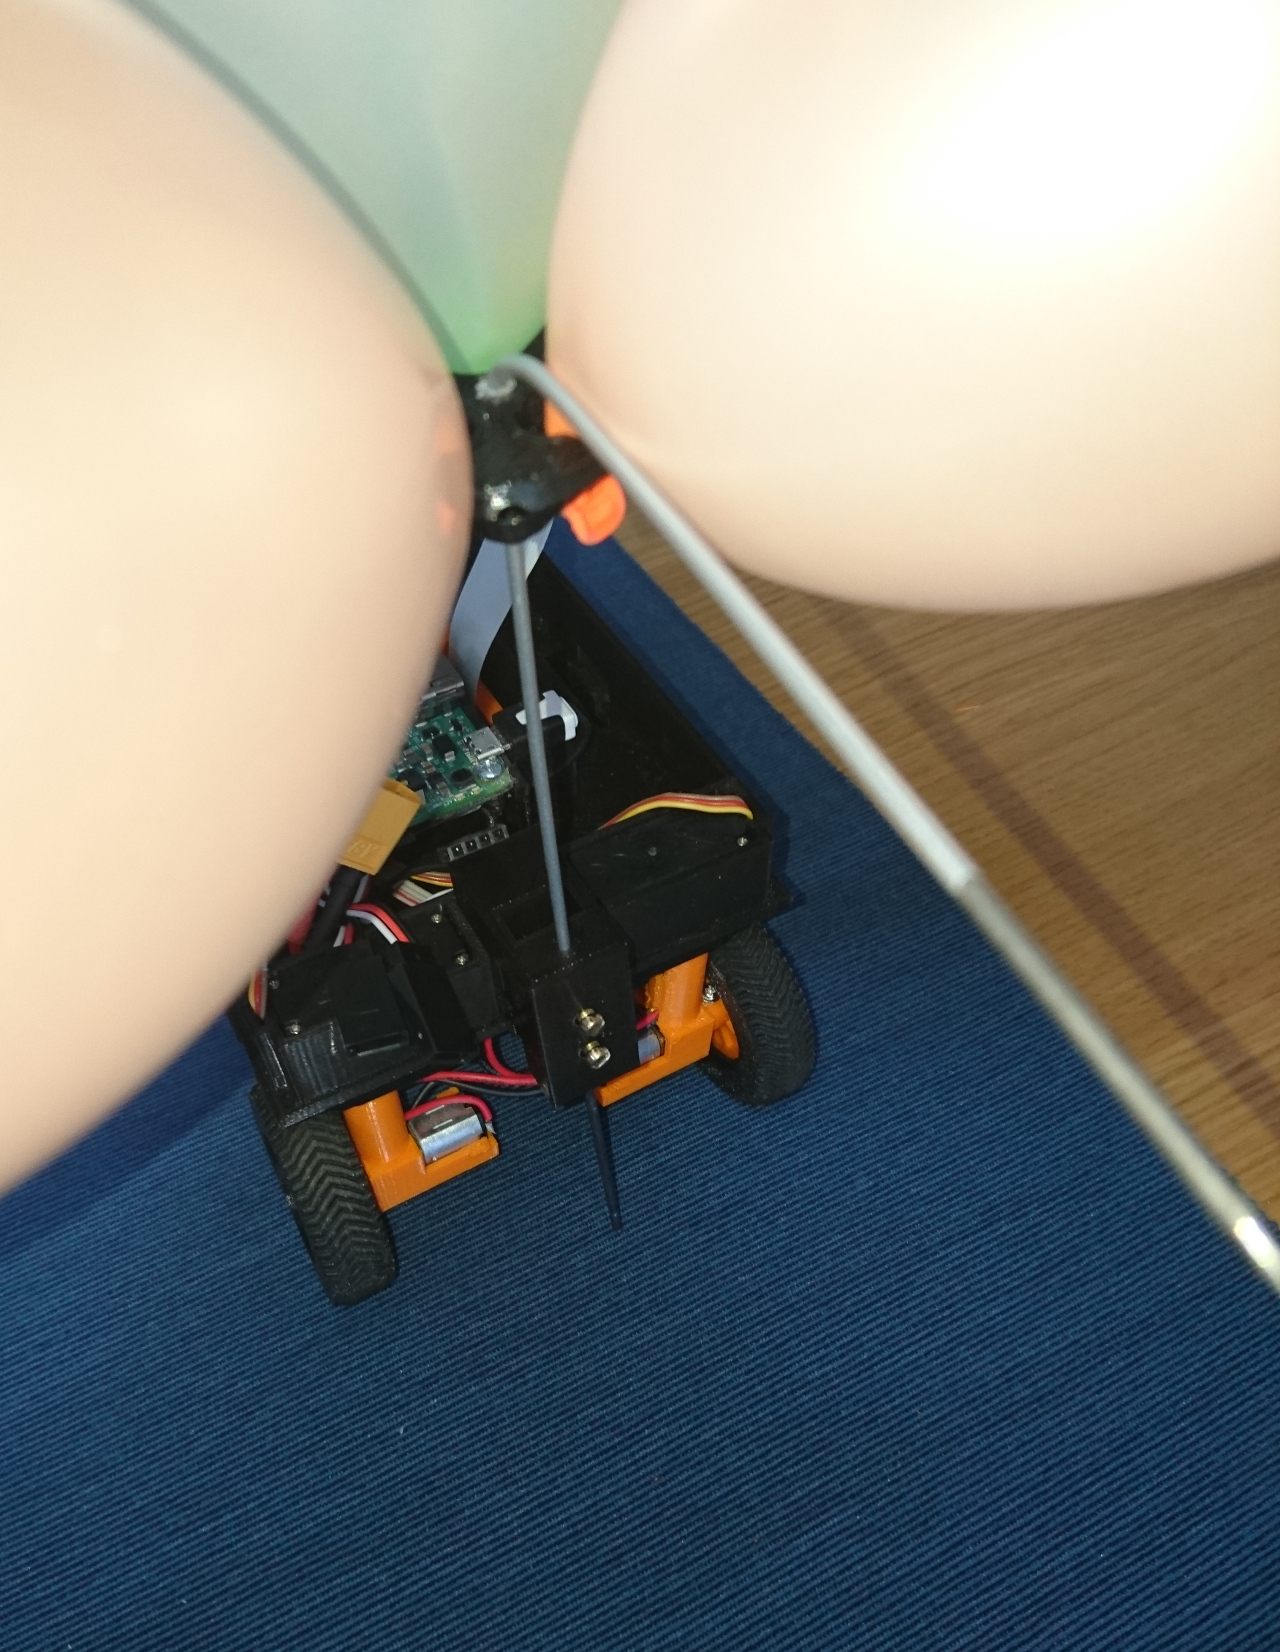
 Now we have finally our 'secret' weapon ready to be deployed: